PostsAboutGames
All posts tagged with html5

"Some Tank Game" in the browser!

August 05, 2021 - Søren Alsbjerg Hørup

After getting Bevy to run in the browser I started the process of porting Some Tank Game to the browser.

First step was to refactor my main.rs into a lib.rs such that I could use bindgen to generate Javascript bindings for my entrypoint and use the bevy_webgl2 plugin to render in the browser.

Next step was to get my levels to properly load. For Some Tank Game I use the Tiled editor to create and edit levels. The library I use also works in the browser, BUT! apparently not with external tile sets.

Reason for the lack of external tile sets support seems to be due to the async nature of Ajax requests. First, the .tsx map file is loaded. Next, the referenced external tile sets are loaded. In a native environment this will happen sequentially with blocking I/O and the tiled struct will be returned after all data and dependencies have been loaded. In the browser, only the .tsx file is loaded, subsequent external tile sets are not loaded as part of the .tsx file load due to the async nature of the browser. The open issue on the subject can be found here.

To fix this issue, I opted for the simplest strategy ever - just imbed the tile sets into the .tsx files. Not pretty, but working. A proper fix would be to somehow pre-load the tilesets before loading the maps, such that these are available from the start.

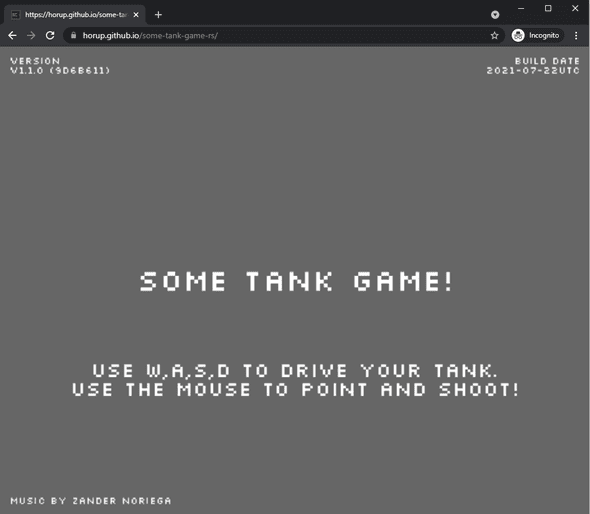
After less than two hours of working, I got my game to successfully run in the browser and made a pipeline in github which builds and deploys the game to Github pages !!!

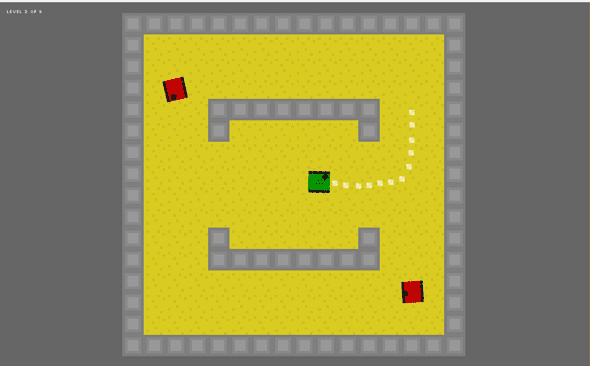
some tank game 2021 08 05 112614

Next step was to improve the experience by adding a spinner when loading the WASM module, preloading of assets when the WASM module was loaded and adding explicit touch support for Tablet support.

An issue I hit regarding Tablet support was that I could not get my game to reliable load on Android Chrome. Only if I attached the Chrome debugger could I get the game to run - huh?!?!. Firefox on mobile was OK.

After a lot of searching I found that Chrome 91 had a bug related to WASM loading. The Blazor guys were also affected by this bug which were discussed here.

Apparently, the Google guys fixed the issue in Chrome 92, which I successfully verified, but without really know the underlying issue and thus why the bug manifests in Chrome 91 - scary!!!

For the touch support, I had to be somewhat creative since winit, the windowing library bevy use, does not support touch events on mobile browsers. The solution I concocted was to implement touch events in JavaScript, collect the touch data and let Rust ‘pop’ the touch events - and then map these events to my input system.

For the touch support, I opted for a simple single-touch experience where one can drag a path for the tank to follow and then let an ‘autopilot AI’ handle the driving of the tank. Shooting is handled by simply tapping. Seems to work OK.

some tank game 2021 08 05 112834

Anyways - took me about 10 hours to port my game to the browser including touch support.

The game can be played here.

Rust is awesome!!!
Bevy in the Browser!

July 08, 2021 - Søren Alsbjerg Hørup

After finishing “Some Tank Game” and posting about it I wanted to see how, if possible, I could port this to the web without replacing Bevy.

To get started, I spun up a fresh Bevy project to see if I could get rendering, kira audio, window management and Bevy UI to work in the browser.

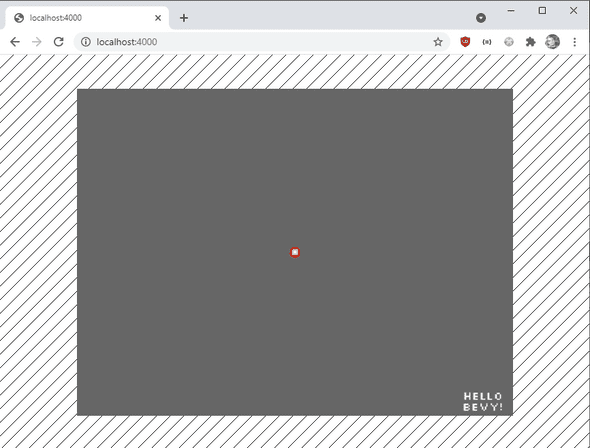
It turns out I actually could!

hello bevy web

Source can be found here.

Firstly, not all of the features of Bevy is compatibile with the web, hence first step is to disable the default plugins when targeting web assembly.

This can be done through the Cargo.toml:

[target.'cfg(target_arch = "wasm32")'.dependencies] bevy = {version = "0.5", default-features = false, features = []}

Here we simply disable all optional features.

Secondly, Bevys default rendering backend does not support the Web, hence we need a ‘web specific’ plugin. Luckiliy, I found bevy_webgl2 which provides a webgl2 backend for bevy.

bevy_webgl2 = "0.5.2"

This dependency will pull in bevy_winit and thus allow for Window creation using a Canvas element, bevy_render for rendering and Bevy png support for png loading and displaying.

Thirdly, wasm-bindgen is used to generate the bindings for JavaScript and wasm-pack is used to compile a bundle targeting web using:

wasm-pack build --target web

My index.html simply loads the module as such:

<script type="module"> import init from './pkg/bevy_web_test.js'; var res = await init(); res.start(); </script>

One issue that a struggle with were the fact that my Canvas was fixed sized and unable to resize with the Window. I inserted some JavaScript to force the Canvas to a certain size, but this had no effect of the internals of Bevy - hence my stuff was not rendered properly.

winit apparently does not support this out of the box, so I implemented a web_canvas_resizer system that polls the dimensions of the window and ensures that the Bevy renderer has the correct size.

Lastly, I added a dependency to bevy_kira_audio and saw that kira more or less works out of the box in the browser. Only issue I had were the fact that Chrome will not play sound unless the Window has had some kind of interaction. I found this JavaScript snippet that works around the issue by tracking AudioContexts and ensuring they play when allowed to.

That’s is! Bevy is now running in the browser!

Next step for me is to merge these changes into some-tank-game-rs and see if I can get my game to run in the browser.

Bevy - A Rust Game Engine

March 29, 2021 - Søren Alsbjerg Hørup

In the past months I have been focusing on using the Rust programming language in relation to game development.

I wanted a setup where I could implement a game that could build for both native, such as Microsoft Windows, and WASM, targeting modern browsers such as Chrome.

To achieve this I have been working on a pet project called Blueprint. Intention with Blueprint was to create a Rust template that could be quickly generated using cargo-generate and that provided several features out of the box. Features included:

  • 2d and 3d rendering.
  • many thousands of sprites using VBO batching.
  • entity component setup using Hecs.
  • pre-defined systems such as movement system, physics systems.
  • multiple template games such as platformer, shooter, etc.

My primary motivation was a template where I could quickly prototype game ideas using Rust. Previously I have been using Typescript + PIXI.js or THREE.js. But since I am a huge Rust fanatic, I wanted to see if I could conjure up a similar setup using Rust + libraries such as winit, wasm-bindgen, glow, etc.

Recently however, I stumbled upon Bevy, a data driven game engine written in Rust. Bevy more or less ticks all the boxes above, except for WASM support. I want to build my games such that they can be quickly shared in the browser for other to see, thus WASM is a non-optional thing.

However, it seems that WASM support is a focus area of Bevy and it seems it is currently possible to run Bevy in the browser using webgl plugins, atleast if one uses the master branch of github and not version 0.4 currently published on crates.io.

In any case. I have decided to put my own Blueprint project on hold and fiddle a bit with Bevy before continuing down a path which seems to be well underway by the community!

If all goes well, I can ditch my efforts on my own brewed Blueprint and make a Bevy template!

Laser Defence

February 23, 2018 - Søren Alsbjerg Hørup

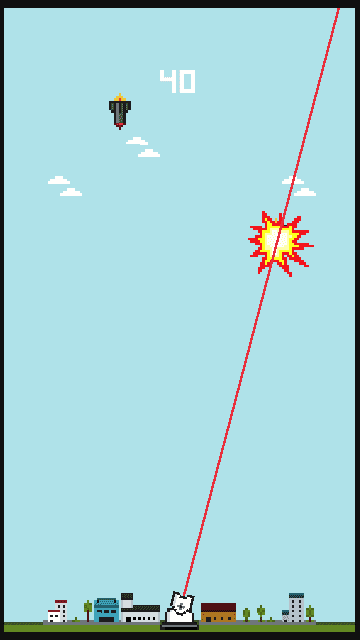
I implemented my first ever (finished) HTML5 game called Laser Defence.

I used PIXI.JS v4 and TypeScript for the implementation. Visual Studio Code was used as the IDE.

For fun, I wrapped the project into Cordova and published it to the Google Play Store:

https://play.google.com/store/apps/details?id=dk.hrup.laserdefence

I had some issues with consistent frame-rates using Cordova on my Galaxy S5 phone. The fix was to use the Crosswalk Cordova plugin. This plugin comes with its own Chromium instance, which is far superior to the default webview provided by Android 6.0.

The con is a fatter APK, about 20MB - but the pro is a much more consistent experience.

Screenshot of laser defence!

Over- and under-clocking Refresh Rate

January 25, 2018 - Søren Alsbjerg Hørup

Recently I have been working on a HTML5 game using Pixi.js. One issue I have come across when doing web game programming is that it is not possible to disable vsync to test my game with higher and lower FPS.

The window.requestAnimationFrame() fires before the next repaint and is therefore tied to the refresh-rate of the monitor in use. For a 60hz monitor, the function fires every 16.66ms.

One could create a custom interval timer to simulate different refresh rates. This works fairly well, although the update will for obvious reasons be out of sync with the monitor.

Another method is to change the refresh-rate of the monitor using INI patching on Windows or using GPU tools such as NVIDIA Control Panel. A monitor is designed for a specific refresh-rate, where 60hz is the most widely PC monitor refresh rate.

Depending on the monitor, it is sometimes possible to over-clock the monitor yielding higher refresh rate. Similarly, under-clocking can be use to reduce the refresh-rate. For my 60hz DELL 2515h monitor I can increase the refresh-rate to 80hz before the monitor goes blank.

This allows me to test different frame rates, while preserving vsync, when developing HTML5 games. Similarly, I can reduce the frame-rate by under-clocking the monitor to e.g. 50hz or 30hz.

For NVIDIA GPUs, changing refresh-rates can easily be done through the NVIDIA Control Panel:

refreshrate.png

The Test button will test the refresh rate before adding it to the list. When added, you can select the custom refresh rates from the drop-down menu to the right.

This can be done even when the game is loaded in the browser. A site such as https://www.vsynctester.com/ can be used to verify that the refresh rate of monitor is in effect in the browser.

HTML5 RDP Client

April 05, 2017 - Søren Alsbjerg Hørup

The Remote Desktop Protocol (RDP) is a protocol used for remote desktop connections primarily against PC’s running Windows, or VMs in the Azure cloud. The protocol is similar to VNC in many ways.

The HTML5 application I am currently building required the ability to seamless connect to a desktop computer using RDP. HTML5 however does not support RDP and cannot easily be implemented in the browser due to:

  • HTTP cannot be used for cross-domain connections.
  • WebSocket is not implemented by the remote PCs that I need to connect to.

The solution I found was to “tunnel” an RDP connection through the server hosting my HTML5 application. Several solutions exists, one being: Myrtille.

Myrtille is basically an ASPX application hosted in IIS, which provide a WebSocket interface and HTML5 remote desktop client (it also support HTML4 using HTTP which is slower). Myrtille, upon getting a connection request from a web client, tunnels the request back and forth through a Gateway service which comes with Myrtille.

The gateway utilizes a free implementation of RDP callsed FreeRDP, specifically wfreerdp.exe on Windows. The gateway service spawns a wfreerdp.exe process which does the actual RDP connection to the remote desktop computer.

When the connection is made, mouse and keyboard input is sent from the HTML5 client in the browser, through Myrtille to wfreerdp. Image data is transmitted from wfreerdp back to the HTML5 client.

[caption id=“attachment_1150” align=“alignnone” width=“1168”] rdp.png The RDP client in action running inside my Chrome browser[/caption]

PixiJS

January 31, 2017 - Søren Alsbjerg Hørup

Last week I started a prototype gamedev project where players can join a game using the mobile phones but only see the action on a shared screen. Think hot-seat where the controllers are the mobile phones.

I decided that I wanted to write an 2D HTML5 game in the browser using Canvas. But before utilizing my HTML5 Canvas skills I looked at what libraries might be able to help me in the endeavor.

It turns out that there are alot of libraries that can take care of basic sprite and tile rendering. PixiJS is such a library, providing a nice deferred renderer using hierarchical stage abstraction.

What I really fell in love with regarding PixiJS is the fact that it both support WebGL and Canvas rendering. This means that if the browser supports WebGL, it will utilize WebGL or else it will fallback to Canvas - nice, although not sure how this translates in a real world scenario where the Canvas typical is so much slower compared to the hardware accelerated rendering provided by OpenGL.

Rendering stuff with PixiJS is done by setting up some container in which one can put DisplayObjects:

let stage = new PIXI.Container();

Sprites can be created and added to the container:

let launcherTex = PIXI.Texture.fromImage('images/sprites/launcher.png');
let sprite = new PIXI.Sprite(launcherTex);
sprite.x = 123;
sprite.y = 123;
sprite.anchor.x = 0.5;
sprite.anchor.y = 0.5;

stage.addChild(sprite);

When done setting up the stage object, it can be send to the renderer for rendering:

renderer.render(stage);

PIXI.Containers are also DisplayObjects, and can be added to other containers, e.g. this is possible:

let stage1 = new PIXI.Container();
let stage2 = new PIXI.Container();

let final = new PIXI.Container();
final.addChild(stage1);
final.addChild(stage2);

renderer.render(final);

A Sprite is just a Container and can contain other sprites/other Display-objects, making it possible to hierarchical subdivide a scene into smaller and smaller components.

nukey

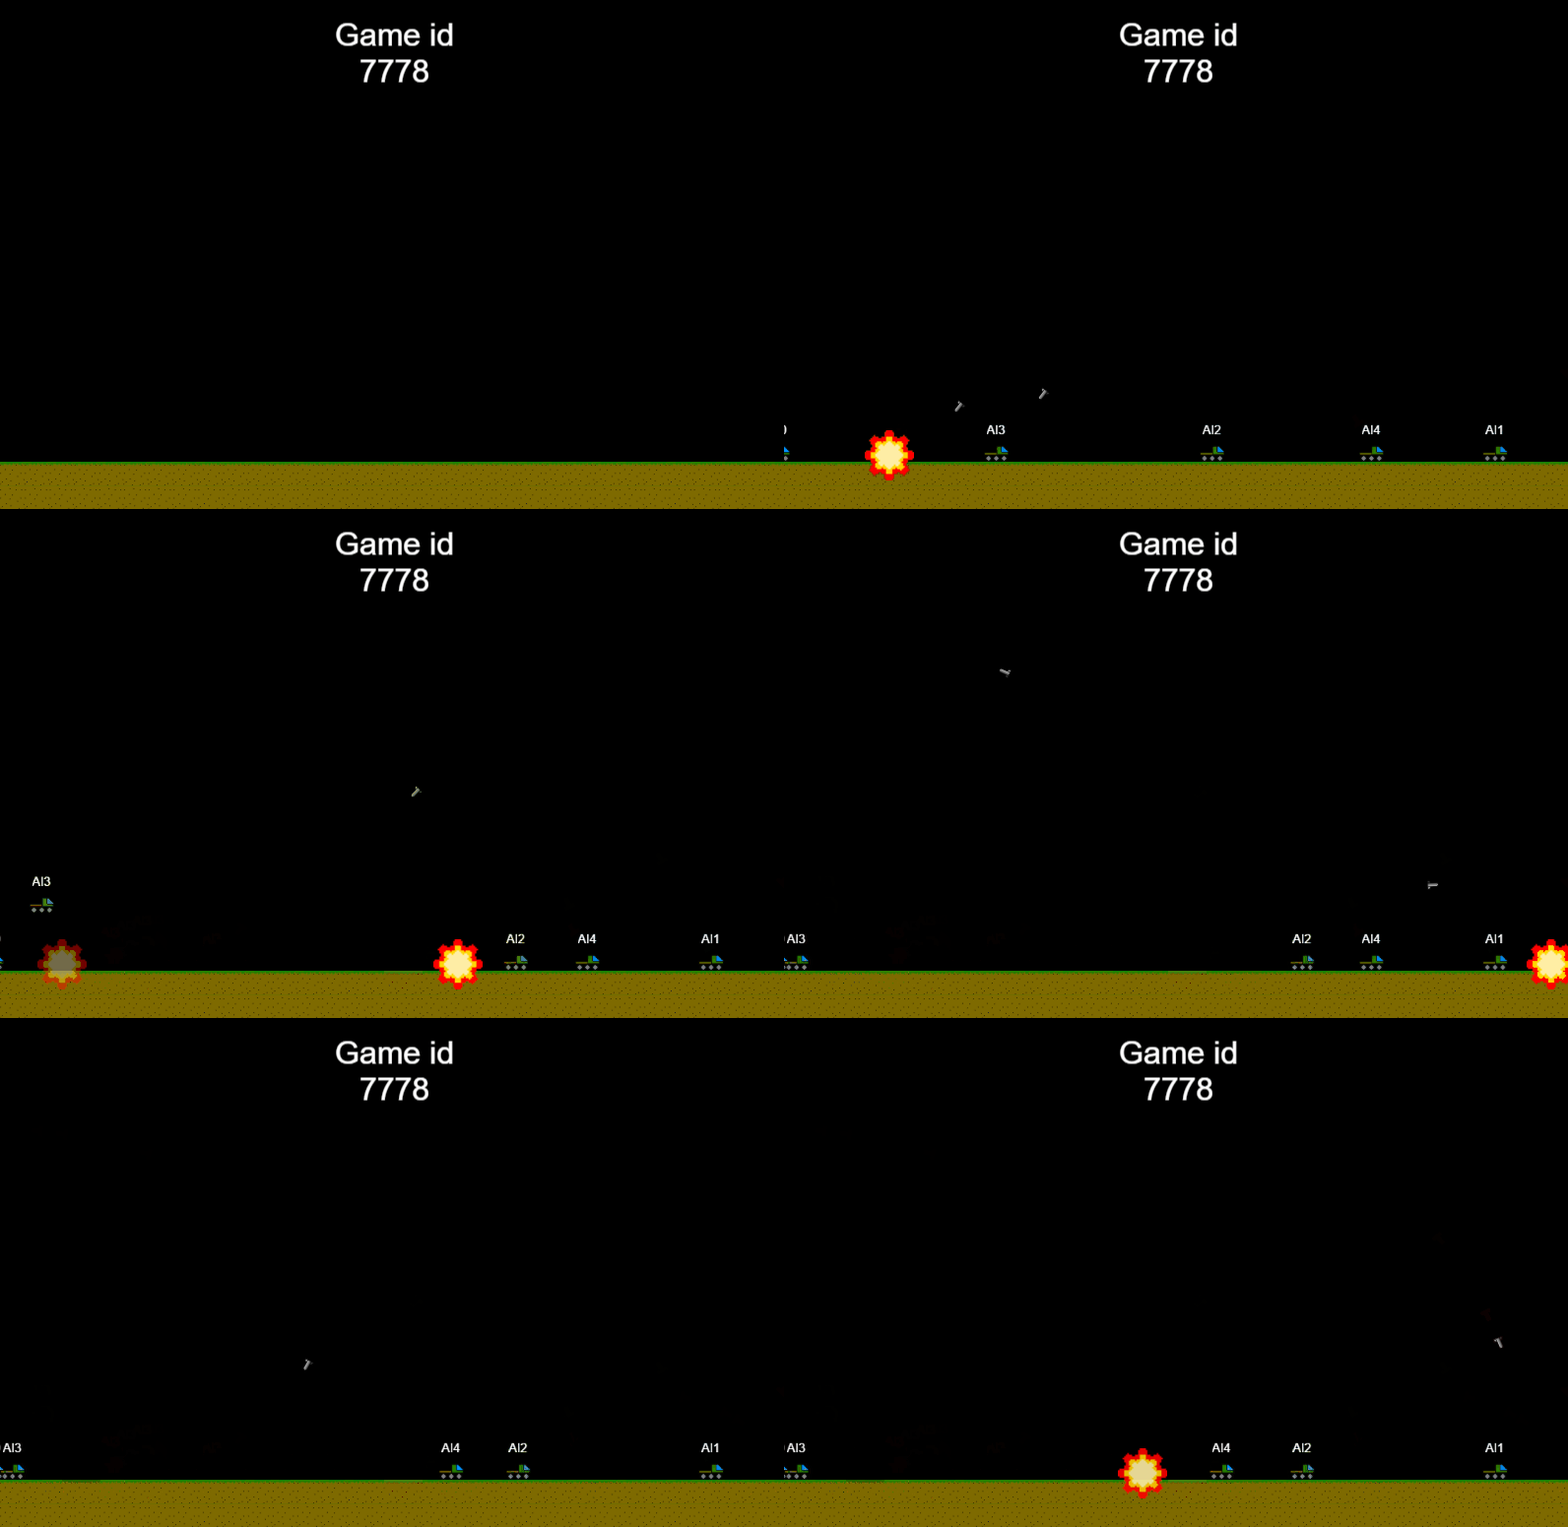
The GIF shows my prototype in action using PixiJS.

Scorched Earth / Worms inspired but currently with a lack of terrain destruction and pretty graphics :-)

Apache Cordova

January 17, 2017 - Søren Alsbjerg Hørup

My son is lacking a bit in the language department. To help him get better I decided to implement an app which randomized a set of pictures into a grid of 4 cells. The app tells out loud the name of the object/thing in one of the pictures which he has to pick.

Screenshot of the finished app on Google Play

I decided that I wanted to tryout Apache Cordova (formerly PhoneGap) and build it as an hybrid-app. Apache Cordova can be installed directly from Node’s package manager ‘NPM’:

npm install -g cordova

To create an app, call

cordova create AppName

which will scaffold a Cordova HTML5 app in the folder AppName.

cordova run browser

will build and start the cordova application in a browser.

cordova run android

will build and start the cordova application in an Android environment. The latter requires the android SDK and an attached device or emulator.

One issues I found with Cordova 6.x was that I was unable to create a proper Android build. Assets was not correctly compiled. I reverted to Cordova 5.x which worked perfectly. My guess is that this will be fixed in the next version.